
Gnashing your Teeth?

The most popular post on my blog by a country mile is this one about the difference between fondant (sugarpaste), buttercream and chocolate ganache.
I often get questions about ganache as it seems to cause people a lot of trouble so, if that's you, then this post should hopefully help you.

What is ganache?
To a cake decorator, ganache is your best friend — the hero of the cake decorating world. It creates a firm chocolate shell around the cake which gives the cake great stability and a smooth firm surface for decorating with the design of your choice. However, there are some pitfalls to be aware of when making it and I get asked lots of questions about how to handle them. It's these that I hope to help you with today.
The Technical Bit:
Before you make your own ganache, It’s important to know just a little about the science behind it in order to be successful.
Ganache is a simple emulsion made with just two ingredients: chocolate and double cream.
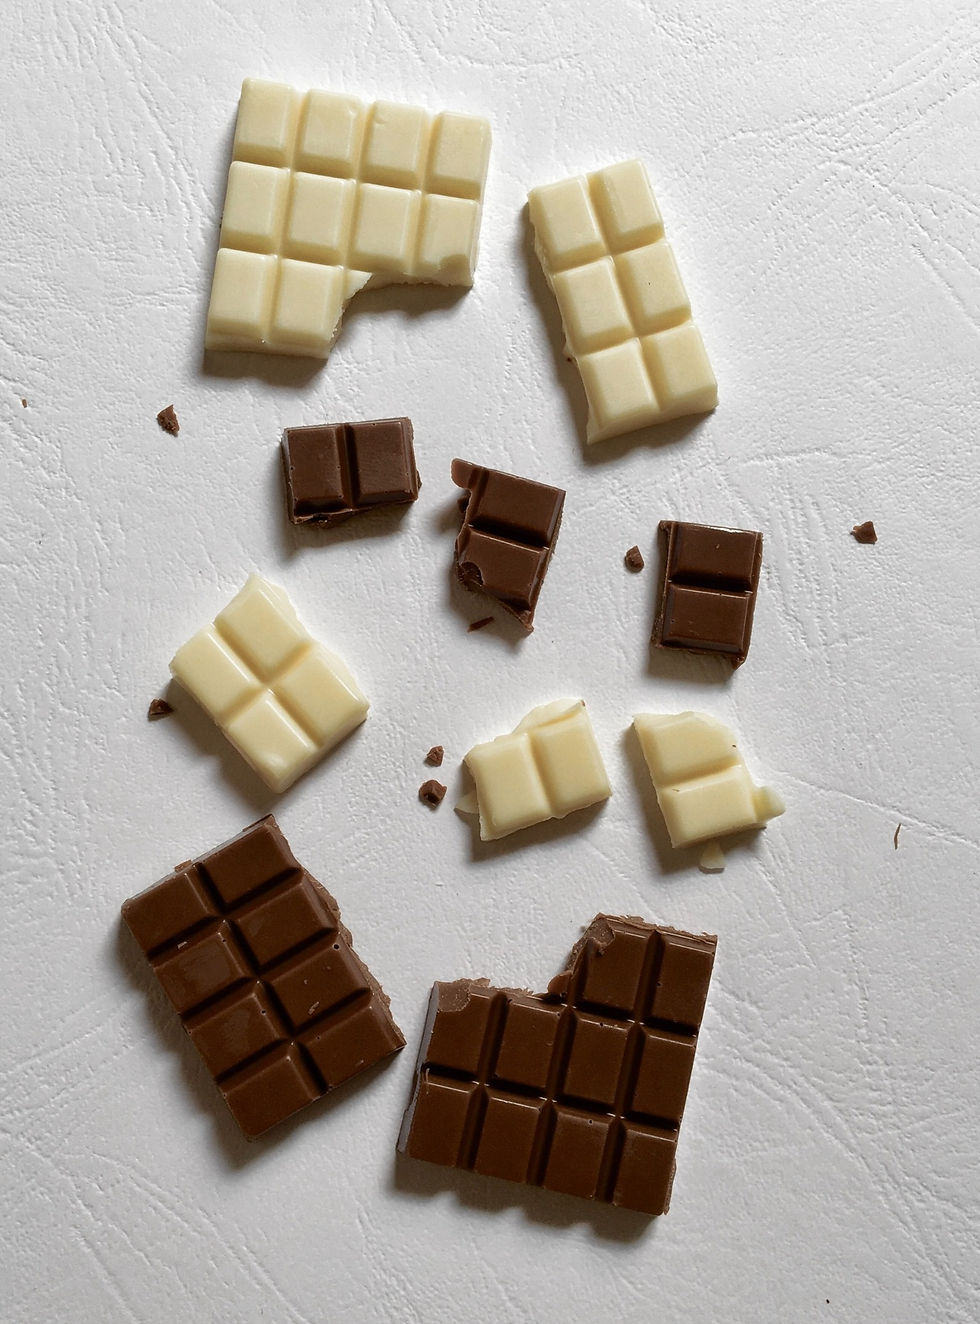
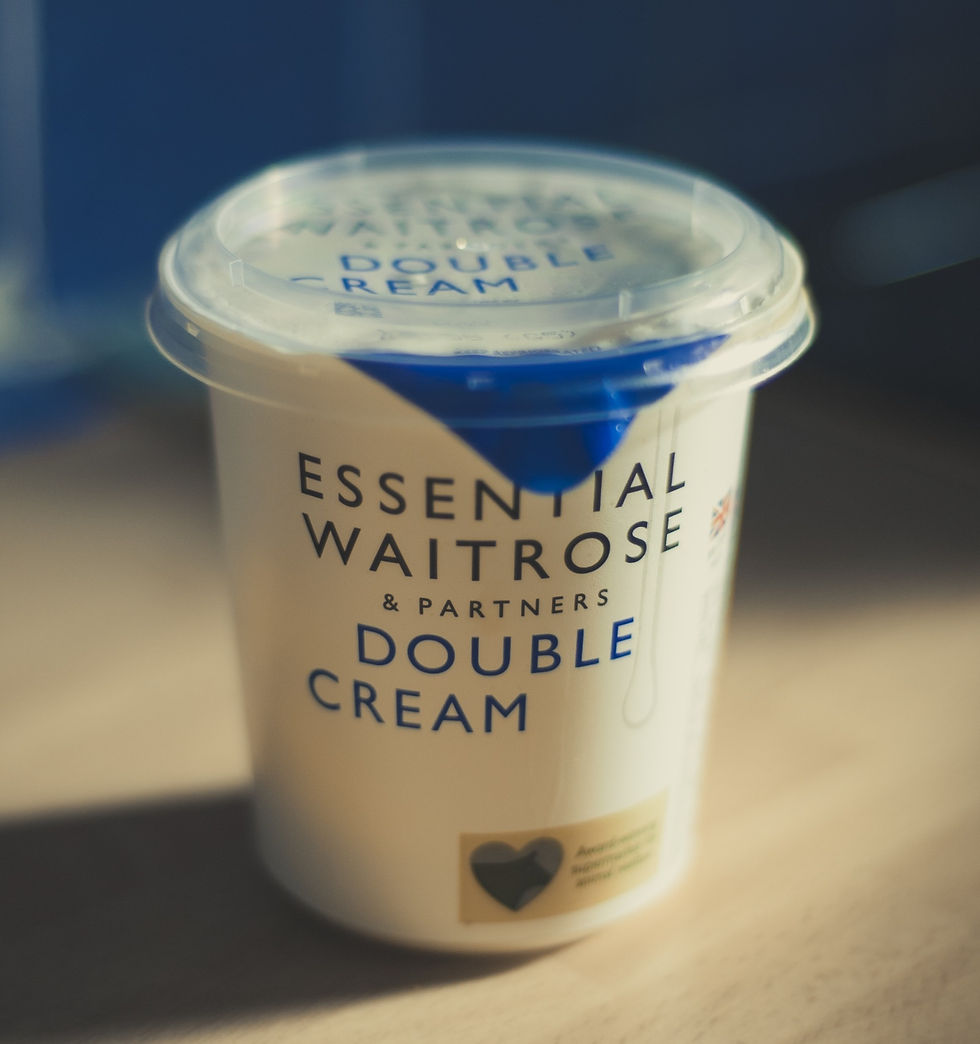
Mixing chocolate and cream is a lot like mixing oil and water - they don’t want to go together and the process of getting them to succumb and properly mix is called emulsification.
The emulsification process combines the fat in the chocolate (cocoa butter) with the
water in the cream and it uses two processes: heat and agitation.
First the fat is liquefied by using heat: hot cream is combined with the chocolate, which
melts the cocoa butter fat into liquid form.
Stirring (agitation) breaks down the liquid fat into microscopic droplets, which are small
enough to be suspended within the water (in the cream). This creates a smooth and
creamy emulsion.
Temperature is also an important factor. If the temperature rises above 110F, the
cocoa butter gets too hot. This causes droplets of fat to pool together and separate
from the water. When this occurs, the ganache is referred to as separated or “broken”.
It will look gloopy and grainy, and pools of oil will be on the surface and around the
edges.
Also, if the ratio of fat (cocoa butter) to water (in the cream) gets too high, it’s too much
fat for the water to handle. The fat will again separate out, and you’ll be left with a
gloopy mixture that’s oily rather than smooth and creamy.
Different types of ganache
There are different types of ganache to be aware of - they are not all the same and different uses require different recipes but for the purposes of this document we are just going to talk about a basic ganache.
Basic Recipe
For Ganache that is to set firm enough to enable you to cover with a layer of sugarpaste (fondant) NOT to be confused with the glossy soft ganache that is often a FINAL cover for chocolate cakes
Dark Chocolate Ganache 2 parts chocolate to 1 part cream for example if you have 600grams of chocolate you would need 300mls of cream White Chocolate Ganache At least 3 parts white chocolate to 1 part cream (white chocolate is the least stable of all ganache and is not advised to be used in extreme heat conditions)
Why use ganache? • To increase stability in carved cakes • Similar to adding reinforcement to concrete • Sharp edges • To increase the shelf-life of cakes – a properly ganached cake can last 2 weeks and up to 4 weeks • Layers of ganache within a cake add to the whole ‘dessert experience’ How long will ganache last? • Ganache can be stored in the refrigerator until the shortest ‘best before’ date of your ingredients or frozen for up to 6 months • Can be microwaved carefully to regain the correct consistency How to store? • A cake that has been ganached does not need to be refrigerated – the boiling of the cream with the chocolate changes the structure of the cream so that it no longer needs to be treated as dairy product – think truffles • Remember the quality of the chocolate will affect the shelf life as well – cheaper quality compound chocolate has a higher water content and water and air increase the risk of bacterial growth within the ganache so it is always best to use a good quality chocolate. • Whipped ganache also has less shelf life due to the air that has been incorporated in the whipping process. Setting time? Approx. 12hours at room temperature (21’C) Trouble-shooting? Ganache is grainy?
Perhaps your chocolate has not melted enough to be incorporated completely with the cream. Or maybe water has been added. Water added to chocolate causes it to seize.
Sometimes the ganache can have a grainy texture without the oil pooling. This is
caused by excessive mixing after the ganache has cooled to lower than 90F.
Chocolate has been over-heated?
This often has to be discarded as there is no recovery from BURNT chocolate.
How to Fix Broken Ganache
If your ganache does split, don't panic and don't throw it all away! And whatever you do, don't think you can fix it by adding more chocolate as all you are doing is adding more fat (cocoa butter) to the mix.
Add some skimmed or semi-skimmed milk, a teaspoon at a time, and mix well untill all the milk has been incorporated. You should then find that your ganache returns to a lovely, workable consistency.
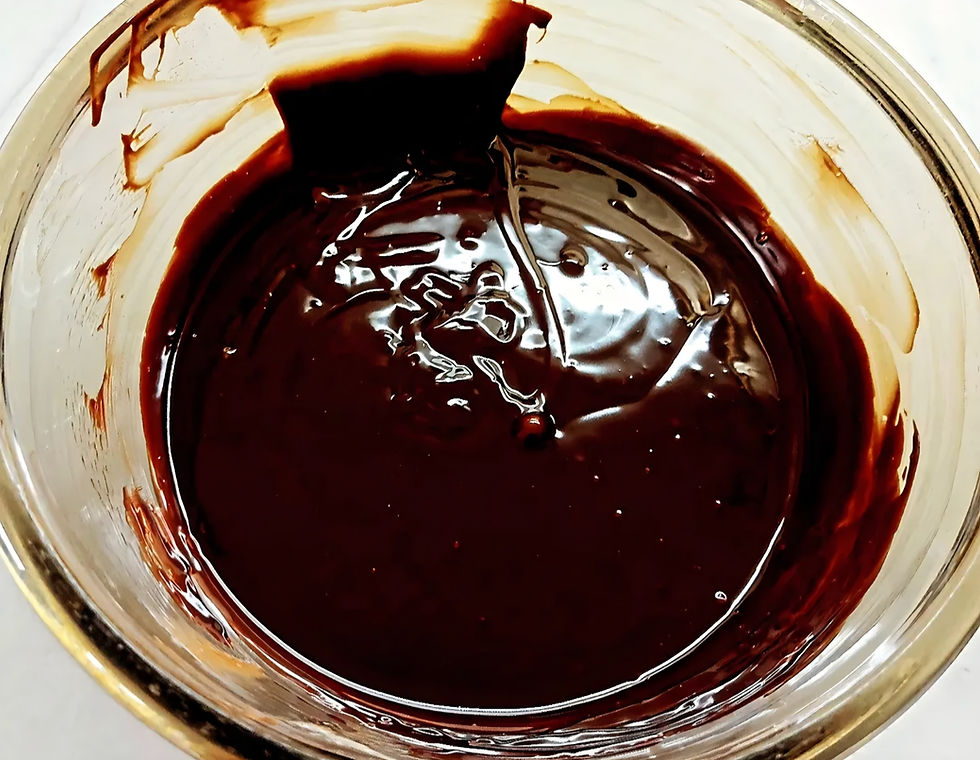
So there you go! Now you know how to fix any ganache problems you may encounter. And
don’t feel bad if you do have problems – they are very common and happen to
everyone. Ganache is very forgiving and can almost always be saved as long as the
chocolate was not scorched.
Sharing the cake love!
Julia


Comments